Trigger Page
Trigger Firing Order
Note that the order in which triggers are listed are the same order they will be matched upon (from top to bottom of the page). Once a match is made and stop flag is enabled for the trigger, no other triggers are processed. Thus, it is important that you start with the most finite matches and prioritize wider ranging matches further down the list.
For example, a match on interface would match interface GigabitEthernet1/0/1, interface GigabitEthernet1/0/2, etc., then stop processing further rules.
Instead, you may want a more finite match such as GigabitEthernet1/0/1 to be ordered higher (or lower depending on the intent).
Creating a Trigger
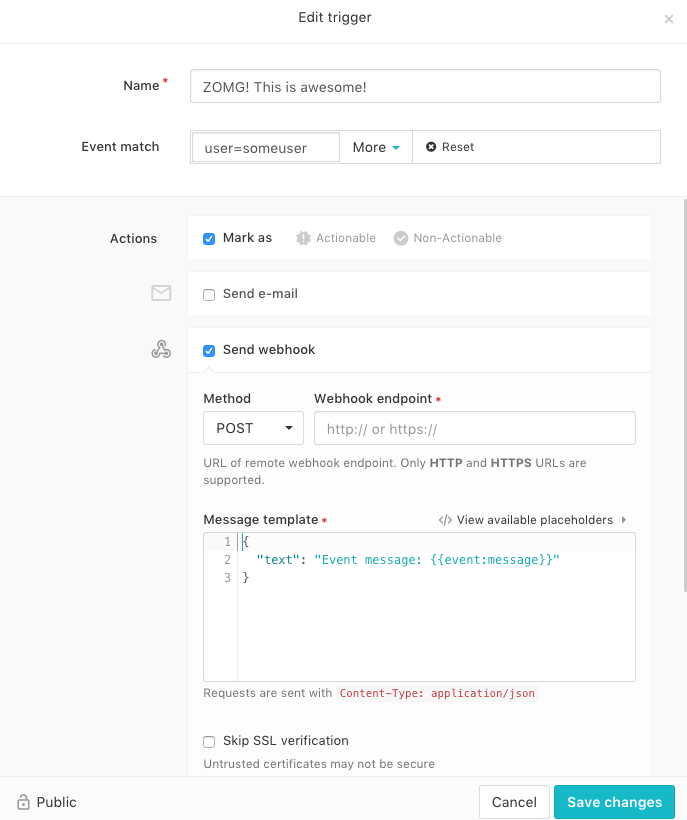
In the LogZilla UI, click the 'Triggers' link in the top menu. There, you'll see a button near the top of the page 'Add new trigger', and below that a list of any triggers already created on your server. Clicking the button will allow you to create a trigger with no pre-set information selected. This is the easiest way to create triggers that will apply to the widest range of conditions.
If you'd like to monitor failed logins for all of your servers, this is the best place to do it. Simply click the button, give your new trigger a name, and enter your search criteria, 'failed login' in the 'Event match' section. By default, 'Issue Notification' is already selected, so for a system wide rule, that's all you need to do. Just click 'Save changes' and your trigger will be active.
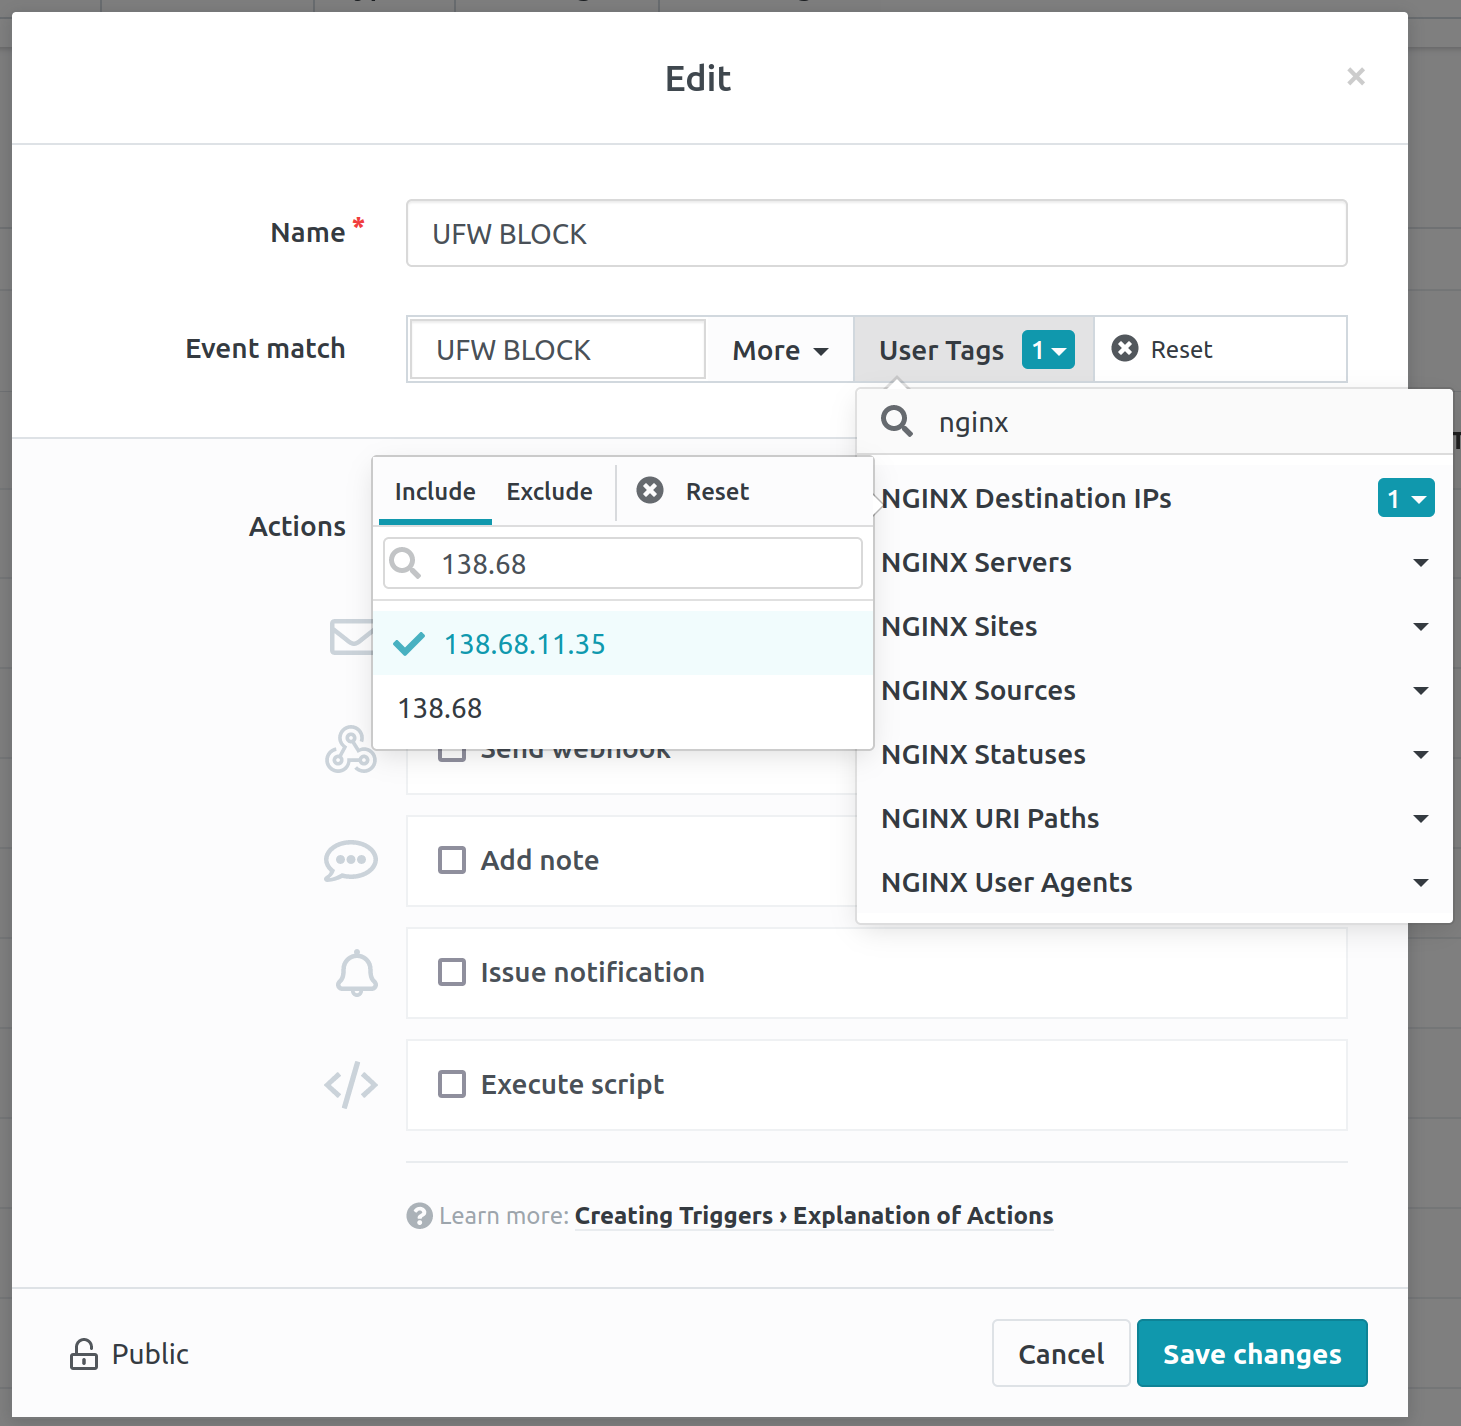
User tags can be used in the filter. User tags are special key/value pairs associated with each individual event. The LogZilla rules can parse the data in each event message and then set specific named (configurable) tags to values from the event data. For example, some common tags are DstIP and DstPort, respectively representing the destination IP address and the destination IP port for the given event. User tag DstIP could for example have value 192.168.0.2.
Triggering events can be filtered based on user tags. If the "User Tag" dropdown is selected, optionally at the top of the dropdown a filter for the desired user tag name can be entered (such as if user tag DstPort is desired then "Dst" can be entered in the search field at the top of the dropdown, and each user tag with a name containing "Dst", such as DstPort will be listed).
Once the desired user tag is shown it can be clicked to open the values dropdown. The values dropdown allows choosing the particular values for the given user tag either to be included or excluded, such that only those events with the chosen values for the designated user tag will cause the trigger, or those with the chosen values will be specifically excluded from causing the trigger. The top of this dropdown as well contains the search box to find particular values of interest. Multiple user tag values can be chosen by clicking on each and a check mark will be shown next to those so designated as an indicator, or the checked ones can be clicked once more to deselect them.
A special value of * can be typed in, then selected. This value has special meaning: it selects only those events that have some value for the designated user tag. This is useful because not every event may contain every user tag. For example there may be events that have no SrcPort, and those events are not desired to be included. In order to select only those events that have a value for SrcPort, without distinction of what that value is, the * filter value should be used.